
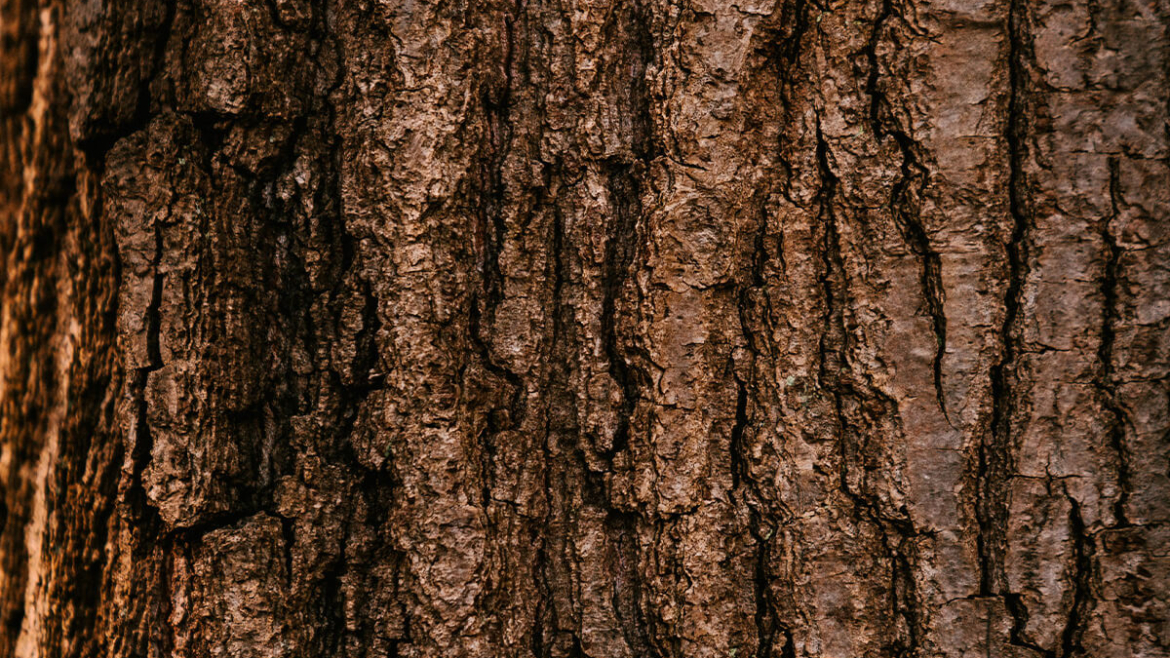
For many homeowners, it’s easy to look at a tree and think it’s almost impervious to harm. After all, they’re so large and perennial it’s sometimes difficult to imagine they could get wounded or sick. However, a tree’s bark is much like your skin; it is a sophisticated, living organ that keeps infectious pathogens out. More specifically, bark acts as a protective barrier against pathogens, regulates temperature, and houses the critical vascular system that transports water and nutrients. When this barrier is breached (perhaps by a lawnmower, a reversing vehicle, or a hungry rodent) then the tree’s health is immediately compromised.
In Canada, where our trees must endure extreme temperature fluctuations and heavy snow loads, managing bark injuries correctly is vital for their long-term survival. Knowing how to diagnose signs of a tree infection and how to treat one can mean the difference between a tree that heals and one that slowly declines. Here are 10 essential do’s and don’ts for managing bark injuries.
1. DO: Assess the Severity of the Wound
Before taking any action, you must determine the extent of the damage. A tree can typically survive and recover if the bark damage involves less than 25% of the trunk’s circumference. If the injury circles more than 50% of the tree (a condition known as girdling) the tree is in serious trouble because the flow of nutrients between the roots and leaves has been severed. Use a metric tape measure to gauge the width of the wound relative to the total girth of the trunk and determine whether girdling has occurred.
2. DON’T: Use Tree Wound Paint or Tar
One of the most persistent myths in arboriculture is that you should seal a wound with black tar or commercial wound paint. Research has shown that these products actually do more harm than good. They trap moisture against the exposed wood, creating a perfect breeding ground for fungi and bacteria. Furthermore, they interfere with the tree’s natural ability to form callus tissue. Unless you are dealing with a specific risk like Oak Wilt in a high-risk zone, leave the wound open to the air.
3. DO: Perform “Wound Tracing”
If the bark is jagged or torn, you can assist the tree by performing a technique called wound tracing. Use a sharp, sterilized knife to carefully trim away any loose, hanging bits of bark. You should aim to create a smooth, elliptical shape around the injury. By removing the ragged edges, you provide a clean perimeter from which the tree can begin growing new bark. Be careful to remove only the damaged tissue and avoid cutting into the healthy wood beneath.
4. DON’T: Dig Into the Wood
When cleaning a wound, there is often a temptation to dig out any discoloured wood or debris. This is a mistake. Trees do not heal in the way humans do; they compartmentalize. This means they grow a chemical and physical barrier around the injured area to wall off decay. If you scrub or scrape the exposed wood too aggressively, you risk breaking that internal seal and allowing rot to spread deeper into the heartwood.
5. DO: Keep the Area Hydrated During Recovery
An injured tree is a stressed tree. To support the intensive biological process of compartmentalization and callus growth, the tree requires consistent hydration. During the Canadian summer, ensure the tree receives roughly 2.5 centimetres of water per week, delivered slowly to the root zone. This ensures the vascular system remains under enough pressure to continue delivering the building blocks needed for repair.
6. DON’T: Fertilize Immediately After Injury
While it might seem logical to give a wounded tree a boost with fertilizer, this can be counterproductive. High-nitrogen fertilizers encourage rapid flush growth in the canopy. An injured tree needs to divert its energy toward defense and wound closure, not toward producing an abundance of new leaves that the damaged vascular system might struggle to support. Wait until the tree has stabilized before resuming a regular fertilization schedule.
7. DO: Protect the Wound from Further Impact
A fresh bark injury is an invitation for secondary damage. If the wound was caused by a lawnmower or weed trimmer, the most important first aid step is to ensure it doesn’t happen again. Install a physical barrier, such as a plastic tree guard or a small section of fencing, at least 15 centimetres away from the trunk. This creates a no-fly zone for equipment and prevents incidents that might reopen the wound.
8. DON’T: Wrap the Wound Tightly
It’s common for many homeowners to attempt to bandage a tree by wrapping the trunk in plastic or burlap. While a loose wrap might provide temporary protection against winter sunscald or rodents, a tight wrap is dangerous. It restricts the expansion of the trunk and, like wound paint, traps humidity. If you must use a wrap for winter protection, ensure it is breathable and remove it as soon as the spring thaw begins.
9. DO: Monitor for Fungal Brackets
In the months following an injury, keep a close eye on the site for any signs of conks or fungal brackets growing from the wood. These are the fruiting bodies of decay-causing fungi. If you see these appearing, it indicates that the tree was unable to successfully compartmentalize the wound and that internal rot is progressing. At this stage, consulting a certified arborist is necessary to evaluate the tree’s structural integrity.
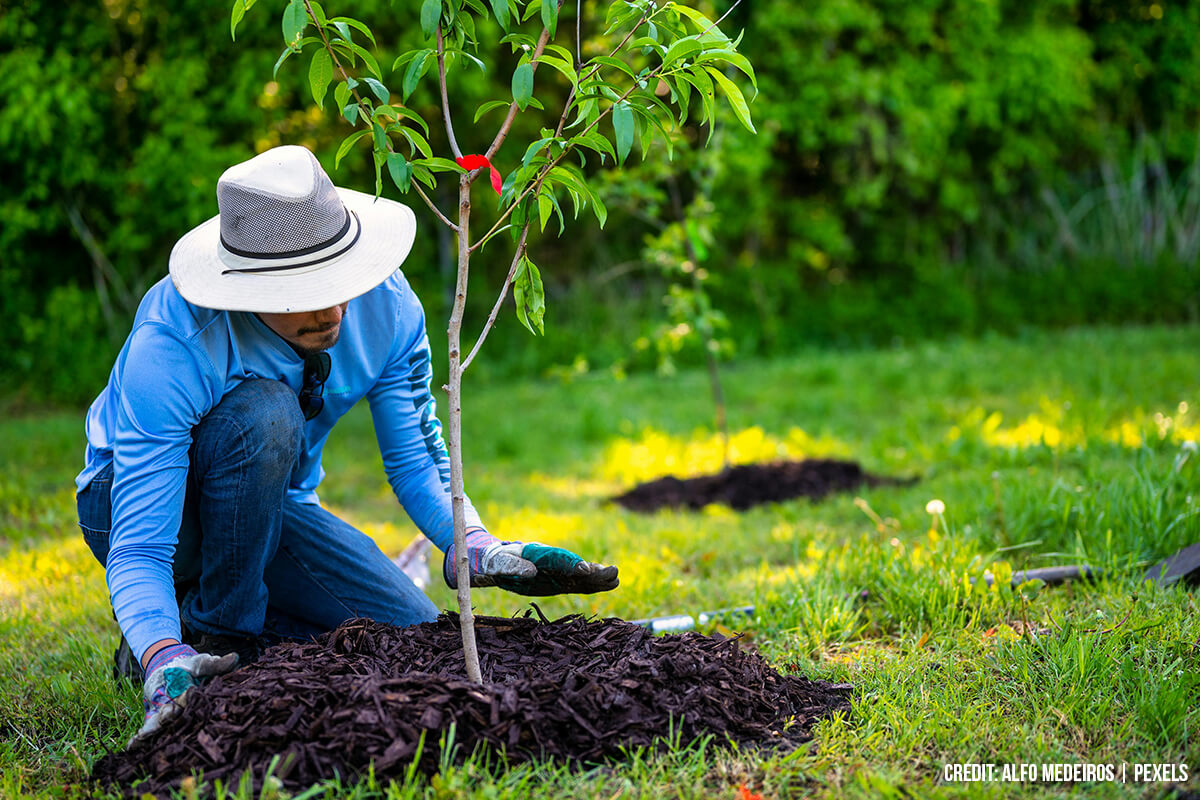
10. DON’T: Ignore the Mulch Layer
Mulching is a silent partner in tree first aid; the trick to providing that care for your trees is knowing how to mulch properly in the first place. Apply a layer of organic mulch (like wood chips) around the base of the tree in a donut shape, keeping the mulch about 10 centimetres away from the trunk itself. This helps maintain soil moisture and prevents temperature extremes that could further stress the damaged tissues. Crucially, it also eliminates the need to use grass-cutting equipment near the sensitive trunk.
Like anything else, sometimes a tree needs a hand while it heals to ensure a clean and complete recovery. With these dos and don’ts in mind, you make it easier to provide proper tree maintenance and help your tree heal correctly. Always remember that a tree’s timeline is much slower than ours; a major bark injury may take several growing seasons to close entirely. Patience, coupled with the right first aid interventions, goes a long way to helping your tree when it’s hurt, and ensuring it recovers to thrive for years to come.
Your trees aren’t just for boosting your home’s curb appeal. At Caledon Treeland, we provide a wide range of shade and privacy trees to make life at home more comfortable and secure. With a little help, you can enhance your outdoor space and improve your quality of life at home. Simply call (905) 880-1828 to book a consultation or visit our beautiful nursery to find the right tree for your home and needs.