
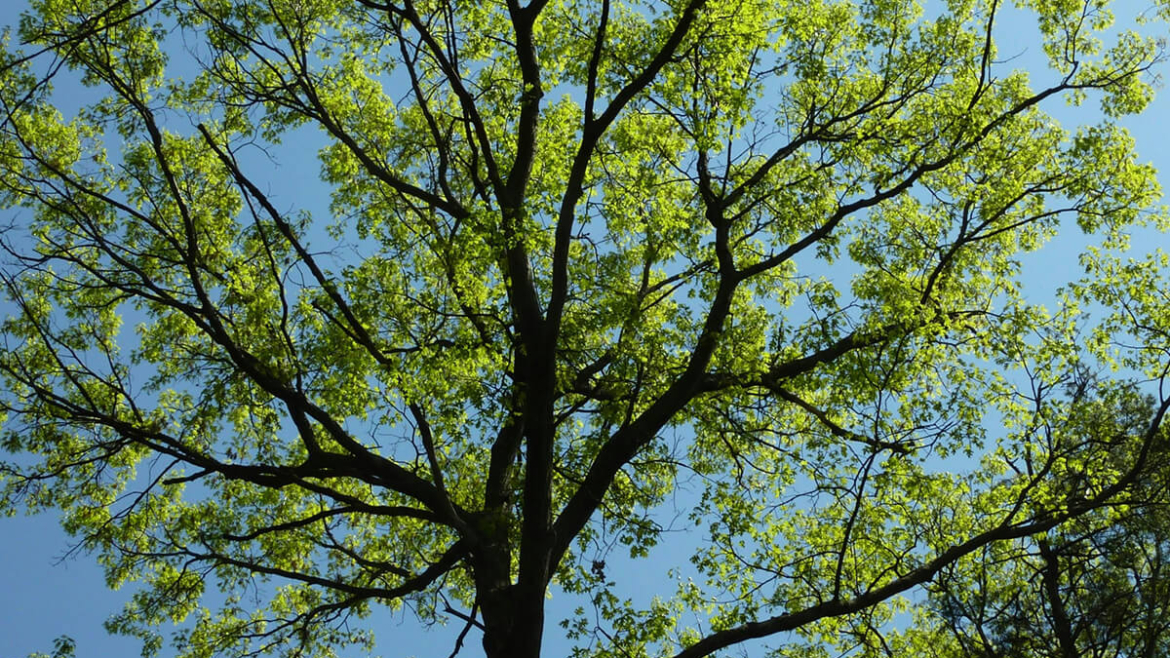
“Winter is coming,” as a certain HBO show keeps saying, but it goes too, and now that spring is starting in earnest, it’s common for many homeowners to turn their attention to their landscapes. After months of enduring low temperatures, heavy ice loads, and desiccating winds, your trees deserve more than just a passing glance, they deserve your full attention, especially if you aim to preempt any spring diseases and pests. Proper spring preparation is the cornerstone of a healthy growing season, ensuring your leafy giants provide all the benefits (shade and aesthetic value chief among them) you expect.
Preparing trees for the transition from dormancy to active growth involves a number of deliberate steps. By following these seven essential steps, you can mitigate winter damage and set the stage for a vibrant, resilient canopy.
1. Conduct a Comprehensive Post-Winter Inspection
Before you even pick up a tool, it’s always a good idea to figure out their current condition. Canadian winters can be incredibly harsh on woody plants, and so knowing what care your trees need in the first place is essential to providing it. The first step of that essential spring prep is a thorough visual assessment of every tree on your property, from the base of the trunk to the highest visible branches.
What you’re looking for now is signs of winter stress or physical injury. This includes frost cracks; these are vertical splits in the bark caused by the rapid expansion and contraction of water within the wood during extreme temperature fluctuations. You’re also looking for broken or hanging branches that may have succumbed to the weight of heavy snowfall or ice storms. Another thing to watch for is sunscald. This tends to appears on the south or southwest side of the trunk where the winter sun has warmed the bark during the day, only for it to freeze rapidly at night, killing the tissue.
Identifying Subtle Issues
Beyond the obvious signs of damage, look for more subtle signs of trouble. Are there areas where the bark is peeling excessively? Do you see small holes that might indicate wood-boring insects that took advantage of a weakened tree? Identifying these issues early allows you to address them before the tree puts its energy into new spring growth.
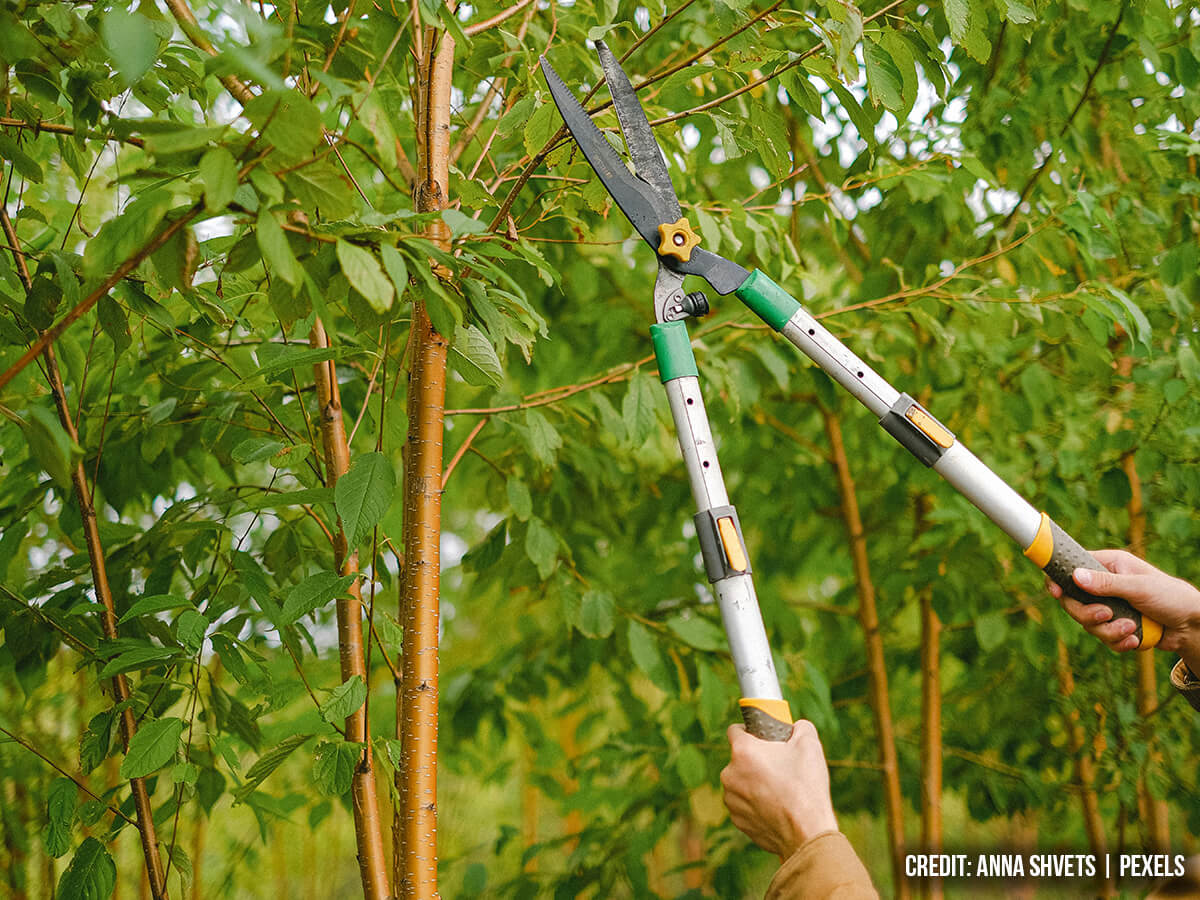
2. Prune for Health and Safety
Once you have identified damaged areas, your next step on any spring tree care checklist is pruning. Spring is one of the most ideal times to remove the three Ds: dead, damaged, and diseased wood. Removing these branches prevents decay from spreading into the main structure of the tree and eliminates potential nesting sites for pests.
When pruning, it’s vital to use the correct technique to promote rapid healing. Always cut just outside the branch collar (this is the swollen area where the branch meets the trunk). This allows the tree to form a natural callus over the wound and seal it. For larger limbs, use a three-cut method to prevent the weight of the falling branch from tearing the bark down the side of the trunk. This method works by making a cut on the underside of the branch ⅓ of the way through, then followed up with another ⅓ cut further up the limb on top to remove the branch. Finally, you make a third cut removing the stub of branch closer to the branch collar to let the wound seal.
Timing Your Pruning
While most trees benefit from a spring cleanup, be mindful of specific species. For example, “bleeders” like maples and birches may seep sap if pruned too late in the spring as the sap begins to rise. While this is generally not harmful to the tree’s health, it can be messy. Conversely, avoid pruning spring-flowering trees until after they have bloomed, or you will inadvertently remove this year’s floral display.
3. Clear Debris and Refresh the Base
The area surrounding the base of your tree (known as the root zone) is just as important as the branches above. Over the winter, leaf litter, fallen twigs, and trash may have accumulated around the base of the tree. Aside from cleaning up in general, there are tree-related reasons why you need this detritus cleared away. First, it removes potential overwintering sites for fungal spores and harmful insects that could take refuge in the tree as the weather changes. Second, it lets you see the root flare, this is the point where the trunk expands as it enters the soil.
The root flare should always be visible and never buried under soil or mulch. If you find that winter runoff has deposited extra soil against the trunk, gently pull it back to expose the root flare. This area needs oxygen exchange; keeping it covered leads to moisture retention against the bark, which can cause rot and fungal infections.
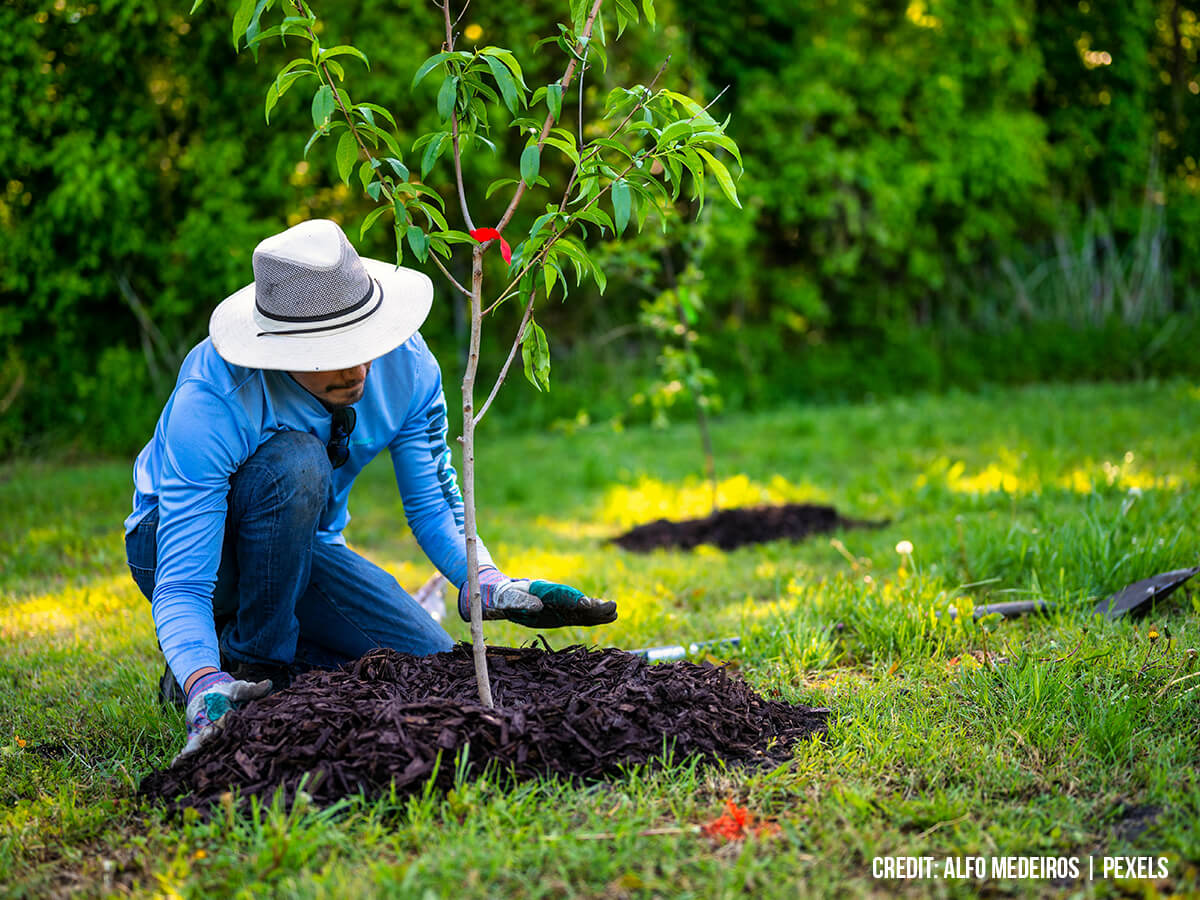
4. Re-Apply Mulch Correctly
Mulching is one of the most beneficial tree care practices you can provide, so long as you do it correctly. A fresh layer of organic mulch, such as shredded bark or wood chips, helps regulate soil temperature, retains essential moisture, and suppresses weeds that compete for nutrients.
As the ground thaws, apply a layer of mulch approximately 5 to 10 centimetres deep. The mulch ring should ideally extend out to the drip line (this is the edge of the tree’s canopy), though even a smaller circle is better than none. The most critical rule of mulching is to avoid the mulch volcano. Always refrain from simply piling the mulch against the trunk of the tree. Instead, leave a gap of about 5 to 8 centimetres between the mulch and the bark.
Why Mulch Depth Matters
Using the metric system to gauge your depth ensures you don’t over-apply. A layer thicker than 10 centimetres can actually prevent oxygen from reaching the roots and may encourage fine roots to grow upward into the mulch rather than downward into the soil, making the tree less drought-tolerant in the summer.
5. Hydrate Deeply as the Soil Thaws
Watering is always critical for a tree, but it’s especially vital in spring to aid the tree as it grows through the season. However, quite a few homeowners assume that because the ground is wet from melting snow, their trees have plenty of water. However, the early spring sun and wind can quickly dry out the upper layers of soil, and newly emerging leaves require a significant amount of hydration.
If the spring is particularly dry, or if you have young trees planted within the last two or three years, supplemental watering is a must. As with watering in general, your goal here is deep hydration rather than frequent shallow watering. Use a soaker hose or a slow-drip system; this allows the water to penetrate at least 30 centimetres into the soil profile. This method also encourages roots to grow deep, which provides better stability and access to groundwater during the hot summer months.
6. Evaluate Soil Nutrients and Fertilize if Necessary
Spring is the time when trees require a burst of nutrients to support flush growth; this is the rapid production of new leaves and shoots. However, that doesn’t always mean fertilizer is the right answer for providing those essential nutrients. If your trees are established, look healthy, and showed good growth the previous year, they may not need any help.
If you do suspect a nutrient deficiency (and this can be indicated by stunted growth or pale leaves), then consider a slow-release, granular fertilizer. Avoid high-nitrogen fertilizers late in the spring, as this can encourage a massive amount of soft, succulent growth that can attract aphids and other sucking insects. In most landscapes in Canada, a balanced approach that focuses on soil health through the addition of compost or organic matter tends to be more favourable to the soil than harsh chemical interventions.
7. Monitor for Early Pests and Diseases
As the temperature rises, so does the activity of various pests. Part of starting spring right is keeping a close watch on any pests and infection; as such, knowing the indicators of common tree pests and infections is key to looking after your trees’ health. Keep a close eye on the emerging buds and young leaves. Many common issues (such as tent caterpillars or certain fungal leaf spots) are much easier to manage when caught early.
Check the undersides of leaves in particular for egg masses or small clusters of insects, as well as signs of leaf curl or unusual spotting. In many cases, if you catch an infestation early, you can manage it simply by pruning out the affected twig or using a strong stream of water to dislodge the pests. Early detection prevents a small problem from becoming a property-wide epidemic that could defoliate your trees and leave them vulnerable to secondary stressors.
Spring is a vibrant time for most trees, but a little care from you can go a long way toward giving them all they need to thrive this season. With a little help from these seven steps, you ensure your trees transition smoothly from the deep freeze to a vibrant spring. More than helping your trees do a little better in spring, this maintenance can also serve them well in summer and pay dividends once your trees need a little extra TLC.
Are you looking for a shade tree to provide some comfort to your home? Caledon Treeland is here to help. We provide a wide range of shade and privacy trees to provide some shade and make your home that much more comfortable. Contact us today at (905) 880-1828 to book a visit to our tree farm and find the right tree for your home.