As a new homeowner in Toronto, you’ve embarked on an exciting journey of settling into your new abode. Amidst the hustle and bustle of moving in and getting accustomed to your surroundings, one aspect of homeownership that often gets overlooked is tree planting.
In this comprehensive guide, we’ll delve into the essential steps and considerations for planting trees on your property in Toronto. Trees not only enhance the aesthetics of your home but also play a vital role in improving air quality, providing shade, and supporting local ecosystems.
Getting Started with Tree Planting
1. Understanding Your Property
-
-
Assessing Space
-
Take stock of the available space in your yard where you envision planting trees. Consider factors, such as existing landscaping, structures, and future growth potential.
-
-
Soil Analysis
-
Test the soil to determine its composition, drainage capabilities, and pH levels. Understanding your soil’s characteristics will help you select the right tree species and ensure proper growth.
-
-
Sunlight Exposure
-
Observe the patterns of sunlight and shade throughout different times of the day to identify optimal planting locations for various tree species. Consider the orientation of your property and nearby structures that may cast shadows.
-
-
Utility Check
-
Before digging, contact your local utility providers to ensure there are no underground cables or pipes that could be damaged. This step is crucial for safety and to avoid costly repairs.
2. Choosing the Right Tree Species
-
-
Research
-
Explore native tree species that thrive in Toronto’s climate, such as Sugar Maple, White Pine, and Red Oak. Consider their growth habits, mature size, and adaptability to urban environments.
-
-
Considerations
-
Factor in the mature size of the trees, growth rate, and maintenance requirements. Think about how the trees will fit into your landscape design and any specific needs they may have.
-
-
Aesthetic Preferences
-
Select trees that align with your aesthetic preferences and landscaping goals. Think about seasonal interest, foliage colour, and any desired features like flowers or fruit.
-
-
Benefits
-
Consider the specific benefits each tree species offers, such as shade, privacy screening, or attracting wildlife. Some trees may have additional benefits, such as providing food for birds or hosting pollinators.
Preparing for Planting

1. Gathering Necessary Tools and Materials
-
-
Tools
-
Shovels, spades, gloves, pruning shears, and a wheelbarrow are essential for planting and maintaining trees. Invest in high-quality tools that will make the job easier and more efficient.
-
-
Materials
-
Compost, mulch, stakes, and tree guards are necessary for soil preparation and tree support. Choose organic mulch and avoid using plastic tree guards to minimize environmental impact.
-
-
Safety Gear
-
Wear appropriate clothing and protective gear while working in the garden. Long sleeves, pants, and sturdy boots will protect you from scratches and cuts, while gloves will prevent blisters and splinters.
2. Preparing the Planting Site
-
-
Clearing
-
Remove any existing vegetation and debris from the planting area to create a clean slate for your new trees. This will prevent competition for resources and reduce the risk of pests and diseases.
-
-
Soil Amendments
-
Improve soil quality by adding compost or organic matter to enhance fertility and drainage. Work the amendments into the soil to ensure they are distributed evenly and accessible to the tree’s roots.
-
-
Digging the Hole
-
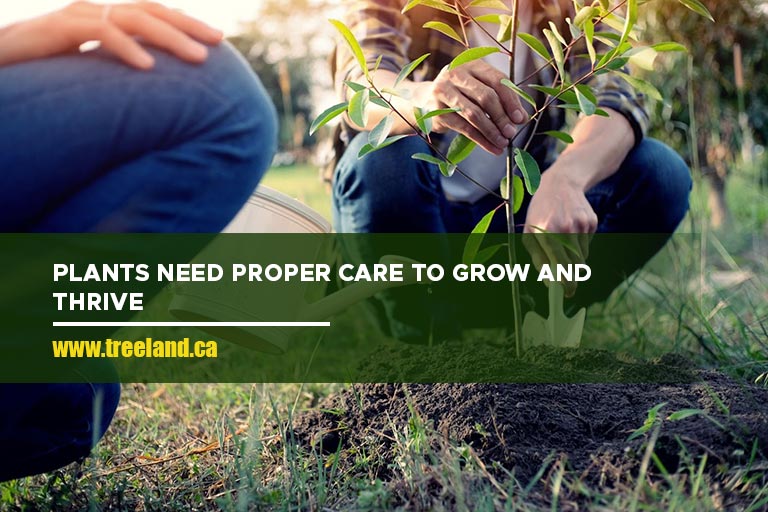
Excavate a hole that is approximately twice the width of the tree’s root ball and just deep enough so that the top of the root ball sits slightly above the surrounding soil level. This generous space allows the roots ample room to extend outward and establish a strong foundation within the soil.
Planting Your Tree
1. Proper Tree Planting Technique
-
-
Removing the Tree
-
Gently remove the tree from its container or burlap, taking care not to disturb the roots. If the tree is in a container, gently loosen the roots before planting to encourage outward growth.
-
-
Positioning
-
Position the tree at the centre of the planting hole, ensuring that the root collar aligns evenly with the soil surface. Take a moment to verify the alignment and make any necessary adjustments before proceeding with backfilling.
-
-
Backfilling
-
Fill the hole with soil, ensuring to gently pack it around the roots to eliminate air pockets. As you backfill, water the soil to aid in settling it around the roots and dislodge any trapped air.
-
-
Watering
-
Ensure the newly planted tree receives ample water to settle the soil and nourish the roots. Employ a slow, deep watering method that saturates the root zone, promoting downward growth and establishing a strong foundation for the tree’s development.
2. Mulching and Staking
-
-
Mulching
-
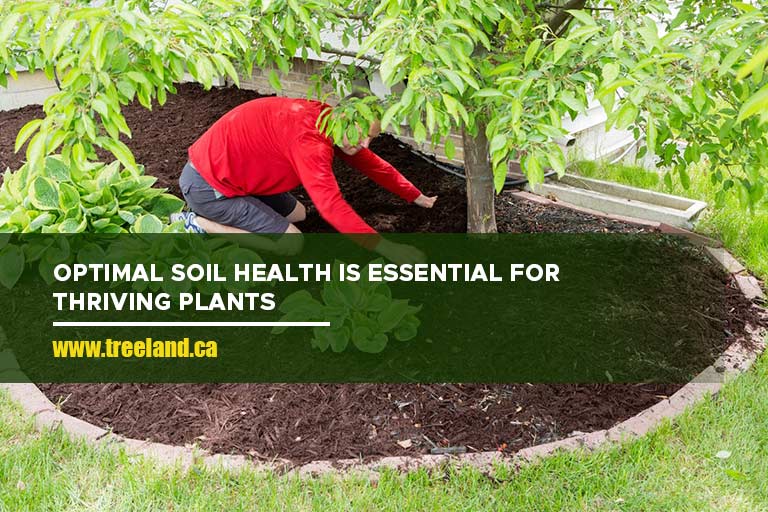
Spread a layer of mulch around the tree’s base, ensuring there’s a gap around the trunk to avoid excessive moisture accumulation. Mulch serves to conserve soil moisture, inhibit weed growth, and stabilize soil temperature.
-
-
Staking
-
If the tree requires support, install stakes on opposite sides of the trunk and secure them with soft ties or straps. Staking should be done loosely to allow for some movement and encourage the tree to develop strong roots.
-
-
Monitoring
-
Regularly check the mulch and stakes to ensure they are in place and provide adequate support to the tree. Adjust as needed to prevent damage from wind or other environmental factors.
Caring for Your Newly Planted Tree

1. Watering
-
-
Frequency
-
Water the tree deeply once or twice a week, depending on weather conditions and soil moisture levels. Newly planted trees require regular watering to establish their root systems and withstand periods of drought.
-
-
Time of Day
-
Water in the morning or evening to minimize evaporation and ensure maximum absorption by the roots. Avoid watering during the hottest part of the day, as this can lead to water loss through evaporation.
-
-
Avoid Overwatering
-
Monitor soil moisture and adjust watering frequency accordingly to prevent waterlogging. Overwatering can suffocate the roots and promote the growth of fungi and other pathogens.
2. Pruning and Maintenance
-
-
Pruning
-
Trim any damaged or crossing branches to promote healthy growth and structural integrity. Pruning should be done in late winter or early spring when the tree is dormant to minimize stress and sap loss.
-
-
Regular Inspections
-
Conduct periodic inspections to check for signs of pests, diseases, or other issues. Look for abnormal growth, discoloured foliage, or signs of insect damage and take appropriate action if necessary.
-
-
Fertilization
-
Consider fertilizing the tree annually to provide essential nutrients for growth and vitality. Use a balanced fertilizer formulated for trees and follow the manufacturer’s instructions for application rates and timing.
Planting trees on your property in Toronto is not only a rewarding experience but also a valuable contribution to the environment and your community. By following the guidelines outlined in this guide, you can ensure the successful establishment and growth of your trees for years to come. Remember, the benefits of trees extend far beyond aesthetics, offering shade, improving air quality, and supporting biodiversity. If you’re ready to enhance your property with trees for sale in Toronto, contact us at Caledon Treeland today at 905-880-1828.
By taking proactive steps to plant and care for trees, you’re not only investing in the beauty and value of your property but also making a positive impact on the world around you. Let’s work together to create a greener and more sustainable future for generations to come.

